All Mastic's top tips for a seamless sealant application
Here, we asked All Mastics’ Warren Hill for his top five tips for a seamless sealant application to help you with your next job.
Here, we asked All Mastics’ Warren Hill for his top five tips for a seamless sealant application to help you with your next job.
The knack to achieving a professional seal every time can vary depending on the job, the environment and the product used. Thankfully, for the last two years we’ve been partnered with All Mastic, a leading mastic sealant application company providing unique training and assessment services to the sealant industry in the UK.
Whether sealing external frames or internal tiling it’s important to use the correct sealant for the project.
If you’re sealing external windows and doors, you should choose a low modulus silicone that is more flexible, weather resistant and durable. These products are also available in a wider range of colours so matching the seal to the brickwork or frame is easy.
For internal work, choose a high modulus silicone which has a fungicidal formula to help prevent mould and mildew growth in areas of high condensation and damp, like bathrooms. However, be sure to check the packaging when using a high modulus silicone to fix or seal around a mirror, as the plasticiser found in some high modulus formulas can damage the film attached to the rear.
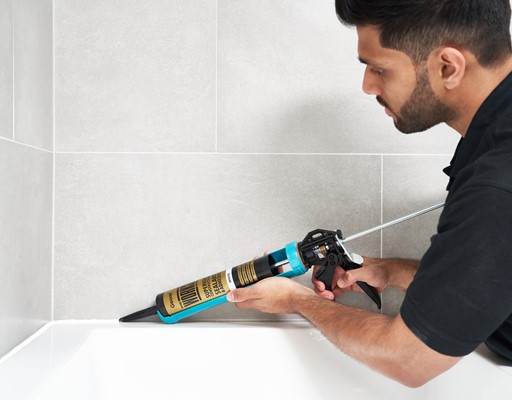
When sealing a bath, always ensure it is two thirds full of water when the sealant is applied. This is because when the bath is full, it will drop due to the weight of the water, creating a bigger gap around the edge of the bath. Sealing around a bath when it is empty will result in the sealant pulling away when it is next filled and used.

If you aren’t highly skilled with a sealant gun, then use masking tape to mask off either side of the joint or gap you wish to fill. Once taped, fill the joint fully and then use a small piece of smooth wood to scrape away the excess, leaving exactly the right amount of sealant in the joint. Then carefully remove the masking tape and gently smooth off using a smoothing tool or lollipop stick. The lightest of touches is needed for this, don’t be too heavy handed!
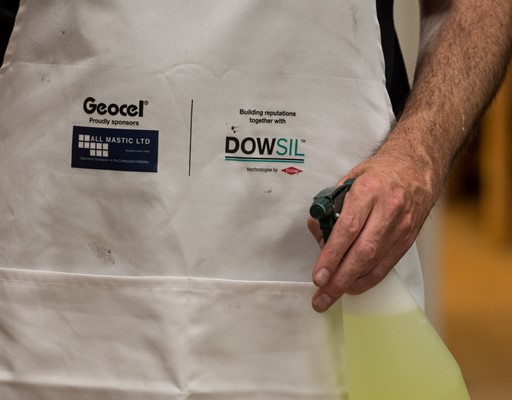
When sealing any joint, it is vital you have a spray bottle filled with soapy water nearby as this soapy solution will prevent the sealant sticking to the surrounding area and reduce drag when tooling. Dilute just a couple of drops of any washing up liquid with water and spray the water onto the joint after initially applying the sealant - not before - and then carry out any finishing touches without the risk of making a mess.

Often when a sealant joint breaks down, the joint applied was not big enough to cope with the excessive movement experienced by the surfaces that have been sealed. If a joint is too small to grip the surfaces sealed, it will pull away when the item moves.
You can avoid this by always making sure that the sealant overlaps with the surfaces on either side of the joint by a minimum of 6mm, even when the joint gap is minimal. On larger joints around a window frame use a foam backing rod to ensure you seal to the correct depth and if able, continue to overlap 6mm onto the frame, this will increase adhesion and help the joint to cope with movement in the future.
With quality, innovation and excellence as hallmarks, Geocel represents the very best in sealant and adhesive products for the trade.
For bespoke solutions for specifiers & developers visit our High Performance Construction Solutions page.